


This blog has a two-column layout on the PC, including the blog home; the Twenty Twenty Five theme has one column by default, so I will explain the steps to change to a two-column layout one by one.
Introduction
One of my goals for this blog was to create a so-called “normal blog” using the Twenty Twenty Five theme of WordPress.
Among them, I thought that a two-column layout was necessary to operate as a “normal blog”. However, the Twenty Twenty Five theme has only a single column layout and does not have a two-column layout as a standard template. The sidebar pattern exists but is not used.
I have been working on a two-column layout display for the blog home, individual posts, and archive pages since the inception of this blog. Now that the form has been finalized, we will describe in detail the procedure for changing to a two-column layout.
Steps to make a two-column layout for the blog home
The two-column layout is achieved by placing the block containing the originally existing query loop of the blog body and the unused sidebar pattern within the column block.
Set the left column at 800px and the right column at 376px.
You can change to a two-column layout in 15 steps.
Points of Attention
Two notes.
Make a backup
Template edits can be discarded and returned to their initial state, or they can be revision controlled and reverted to a specific stage.
However, it is not always possible to restore the site to its original state. I recommend that you make a backup of the entire site before proceeding.
Working with Child Themes
If you have modified the parent theme of Twenty Twent Five, a theme update may restore it to its original state.
It is recommended that you create and select a child theme before working with it.

Initial state
I have built a local WordPress environment on Windows11 WSL2 Ubuntu (apache2 + php8.3 + MariaDB5.3 + WordPress 6.7.2).Below is a screenshot of WordPress running in the local environment.
This is an un-customized page layout right after installing WordPress; the Twenty Twenty Five theme has a simple single-column layout with the posts lined up vertically.
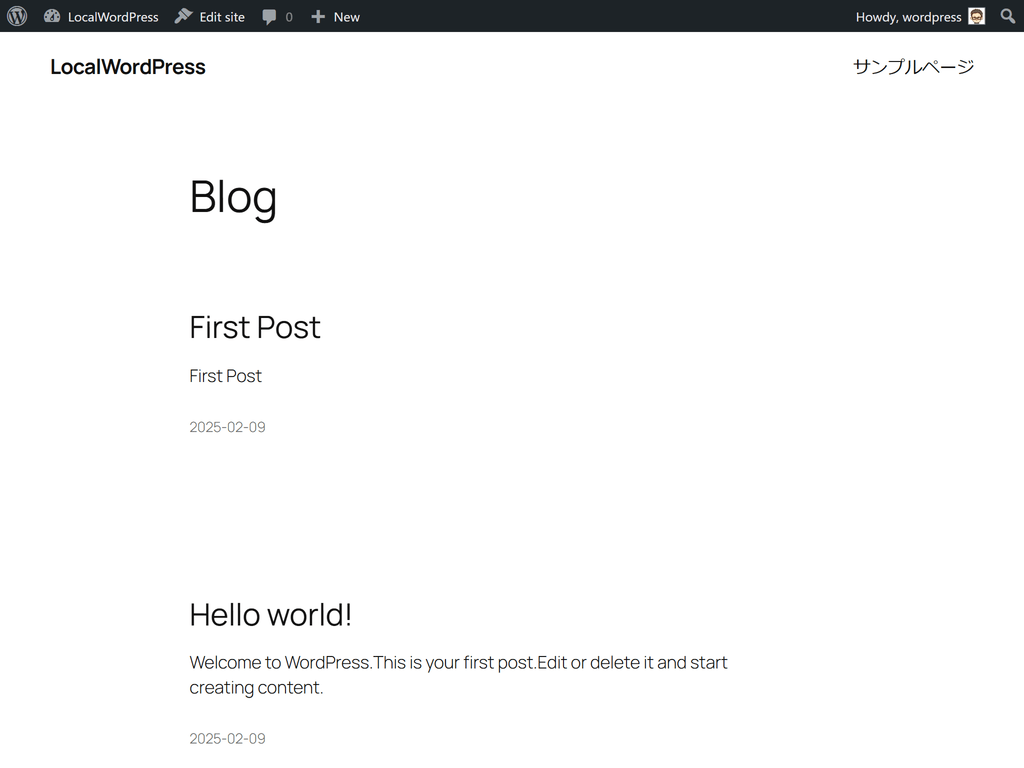
Change this to a two-column layout.
Open the theme’s block editor
Open the theme’s block editor by selecting Appearance->Editor from the admin screen.

Template Selection
The design screen will open and select “Template”.

Select the “Blog Home” template
Select the “Blog Home” template from the list of templates.

Open list view (document overview)
Select the hamburger menu circled in green at the top to open the list view of blocks (document appearance).

Expand blog body group
Initially,
- Header
- Group
- Footer
The blog home consists of three blocks.
The second group block will be the blog body. Press “>” at the top to expand it.

Confirmation of blog body group
The blog body group consists of two blocks.
- Heading block (display the word “Blog”)
- Query Loop block
Display each article in a query loop block.
Set this entire block to the left side of the two-column layout.

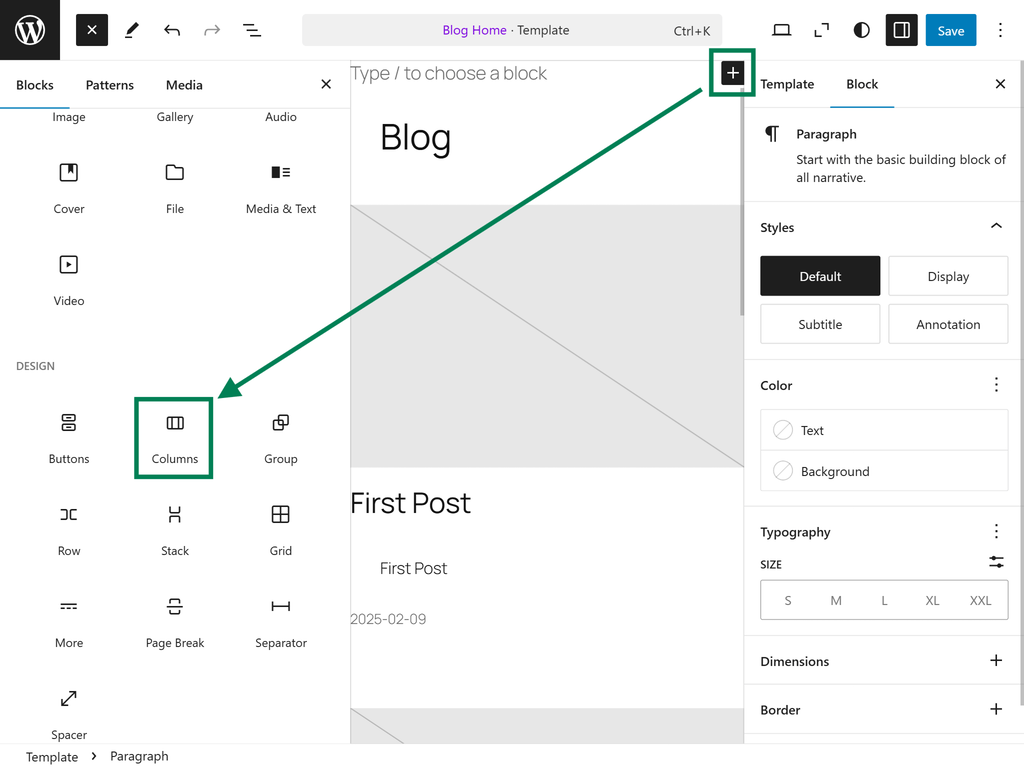
Add block
Add a block before the body group.

Change to column block
Change the added paragraph block to a column block.
Press the “+” button on the right side of the block to select “Columns” in the block selection screen.
Select 66/33 ratio for two columns
I will change this later, but tentatively select a 66 / 33 ratio.

A two-column block of containers could be created
At this point, we have created a column block that does not contain any content, but is the basis for a two-column layout.
The column block is a parent-child relationship, with a number of child blocks of columns being created for each parent.
On a PC screen, the top row of the child column block is displayed on the left side and the bottom row on the right side.By default, the top and bottom are displayed on mobile.

Move blog body block to left column block
Select the blog body block and move it to the upper, left column by dragging the mouse.

Sidebar pattern placed in right column block
Insert a new “sidebar” pattern and move it to the right column block.

You can change the contents of the sidebars for all two-column layouts by changing the contents of the sidebar pattern.
Left column block width set to 800px
Now you have placed a block within each column block.
Change the width of the left column block to 800 px.Select the column block and change the width shown on the right side from 66 % to 800 px, including units.

Right column block width set to 376px
As with the left side, set the width of the right column block to 376px.

Save and check operation
Save the template.
View the blog home and confirm that you have a two-column layout.

The green boxed area is the left column and the right column.
Fine-tune layout
For more information on fine-tuning the layout, including header and footer widths and centering when the browser is wide, see the following articles.
Links to past articles
Here is what we have worked on so far.
Musubi
Detailed step-by-step instructions on how to change to a two-column layout in the Twenty Twenty Five WordPress theme.
In the same way, individual post and archive templates can be changed to a two-column layout.
Modifying the contents of the sidebar pattern will change the sidebar display on all pages.You can add a calendar, the latest and most popular posts, ads, etc. A single modification in one place will be reflected on all pages.
We hope this will help you in building your site.
Leave a Reply